Cómo abrir la Bóveda del Guardián en Dragon Age: El Guardián del Velo
Dragon Age: The Veilguard esconde muchos misterios y acertijos que encontrarás mientras exploras varias áreas en el juego. Encontrarás muchos caminos cerrados que se abren solo después de avanzar en la historia hasta cierto punto o explorar regiones adicionales. Así es como encontrarás la misión Abrir la Bóveda del Guardián en la Costa de Rivain, habitada por los Antaam. Aquí tienes cómo resolver el acertijo para entrar y abrir los cofres con recompensas.
Cómo comenzar la misión
Puedes desbloquear la misión de varias maneras, pero asegúrate de haber avanzado en el juego hasta el punto donde todos los caminos cerrados se vuelven accesibles. Primero, necesitas salvar al dragón para obtener acceso a las áreas cerradas en la Costa de Rivain. Una vez que hagas esto, el mapa estará abierto para la exploración. Para completar la misión y llegar al tesoro, debes resolver tres acertijos y abrir dos puertas cerradas.
Una vez que esto esté hecho y el área esté abierta, puedes encontrarte con una palanca que abre un camino subterráneo que inicia la misión, o seguir nuestros pasos a continuación para llegar allí.
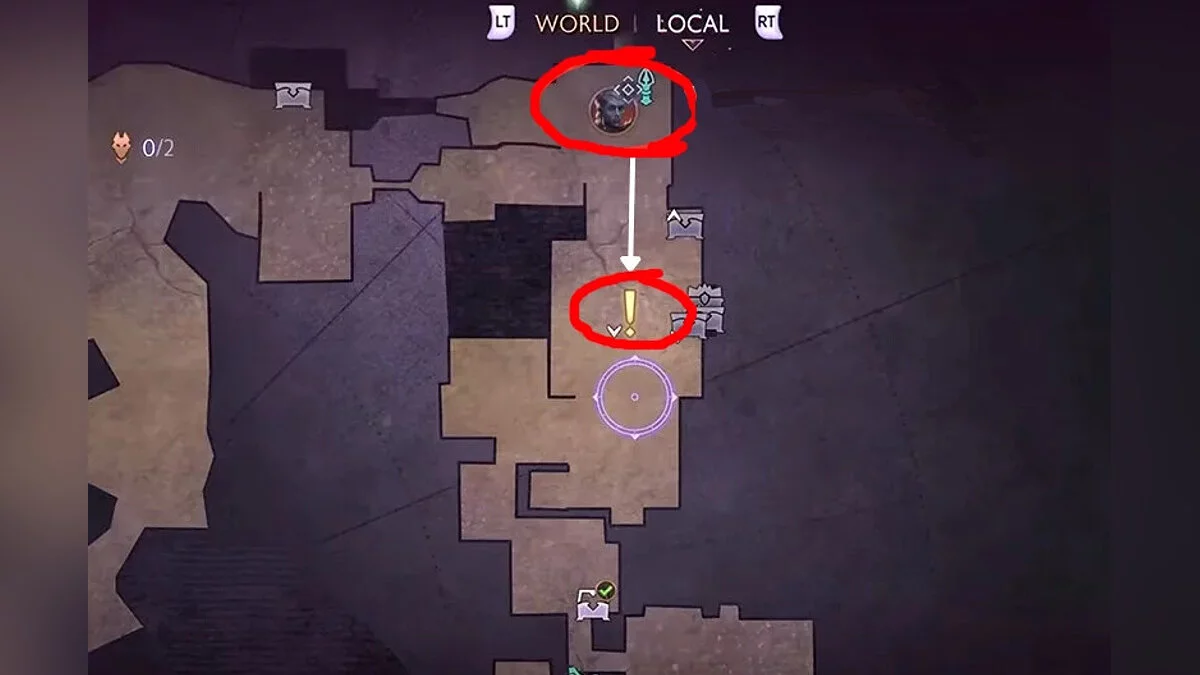
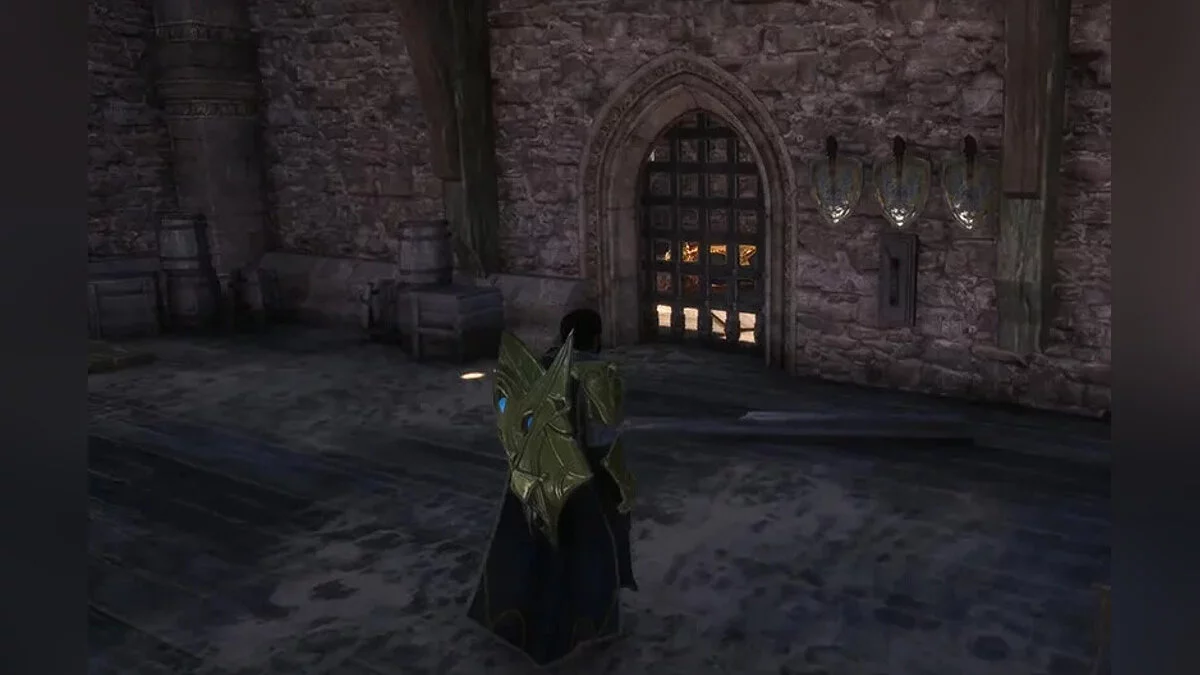
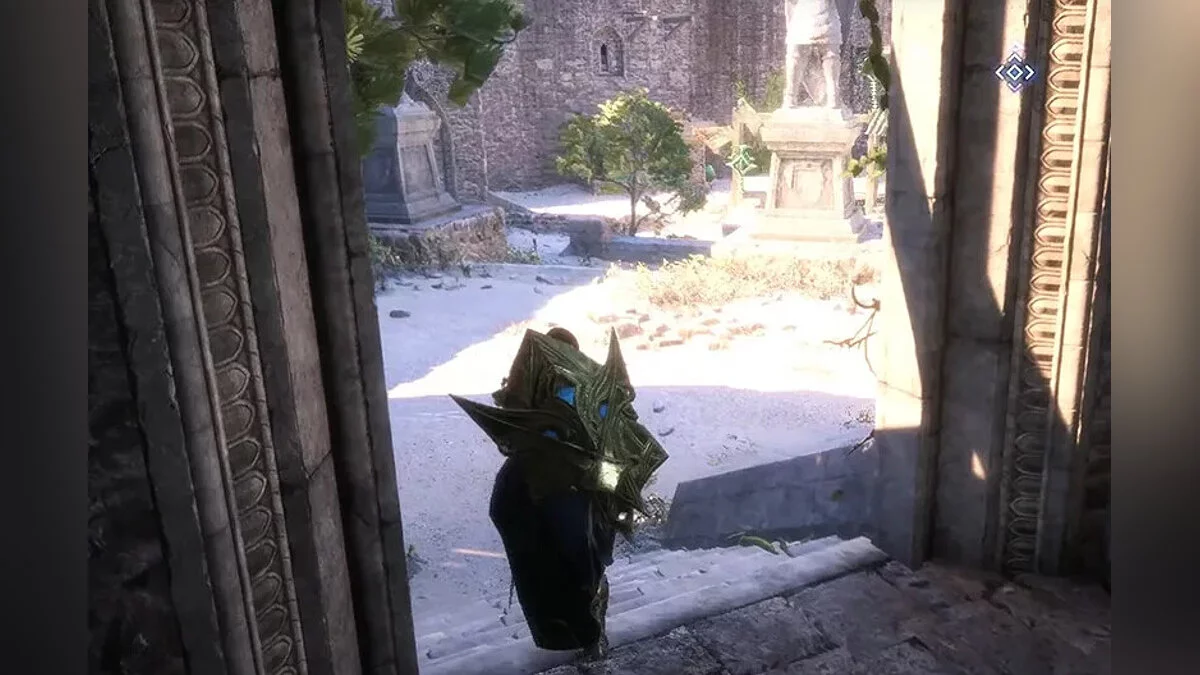
Aparece en el punto de viaje rápido marcado en el mapa y llega a tu punto de interés. Algunos caminos son visibles inmediatamente después de aparecer en el punto de viaje rápido: grandes puertas de hierro y un camino a la derecha. La forma más rápida de llegar a la misión es a través de las grandes puertas de hierro.
Pasa por ellas y continúa más allá de la primera habitación. En la segunda habitación, mira a la derecha. Verás un camino que desciende. Avanza por el camino, rompe los cristales de piedra dragón en llamas usando la habilidad de Taash, y la habitación delante de ti iniciará la misión Abrir la Bóveda del Guardián.
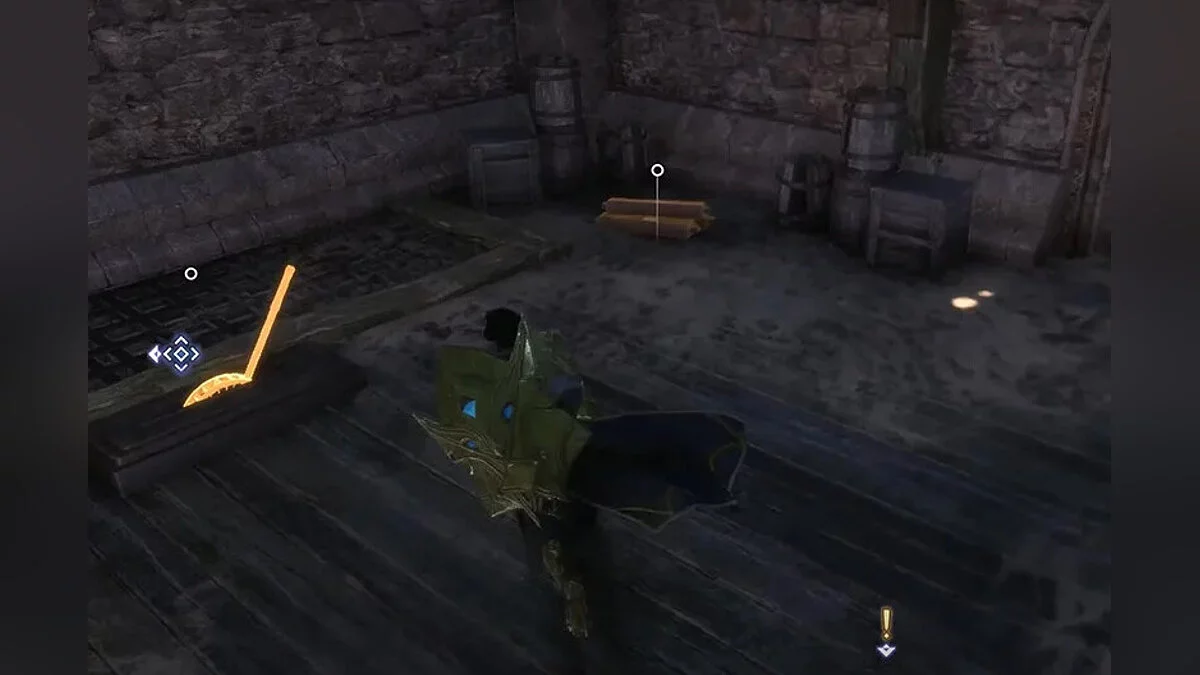
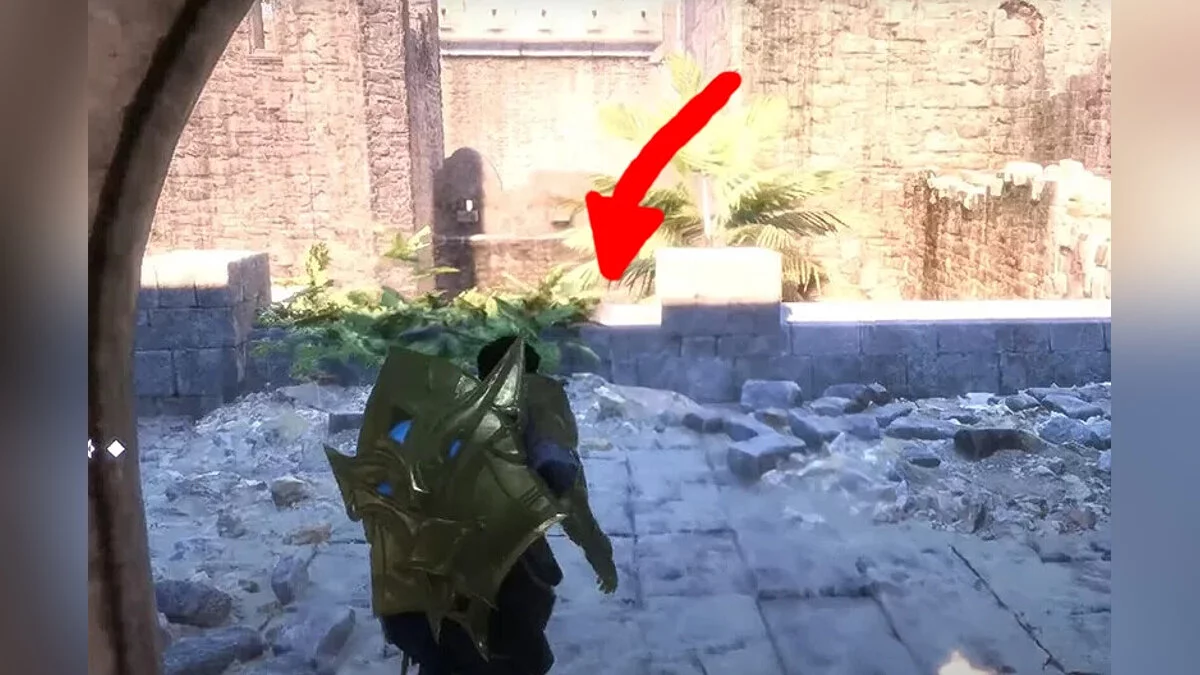
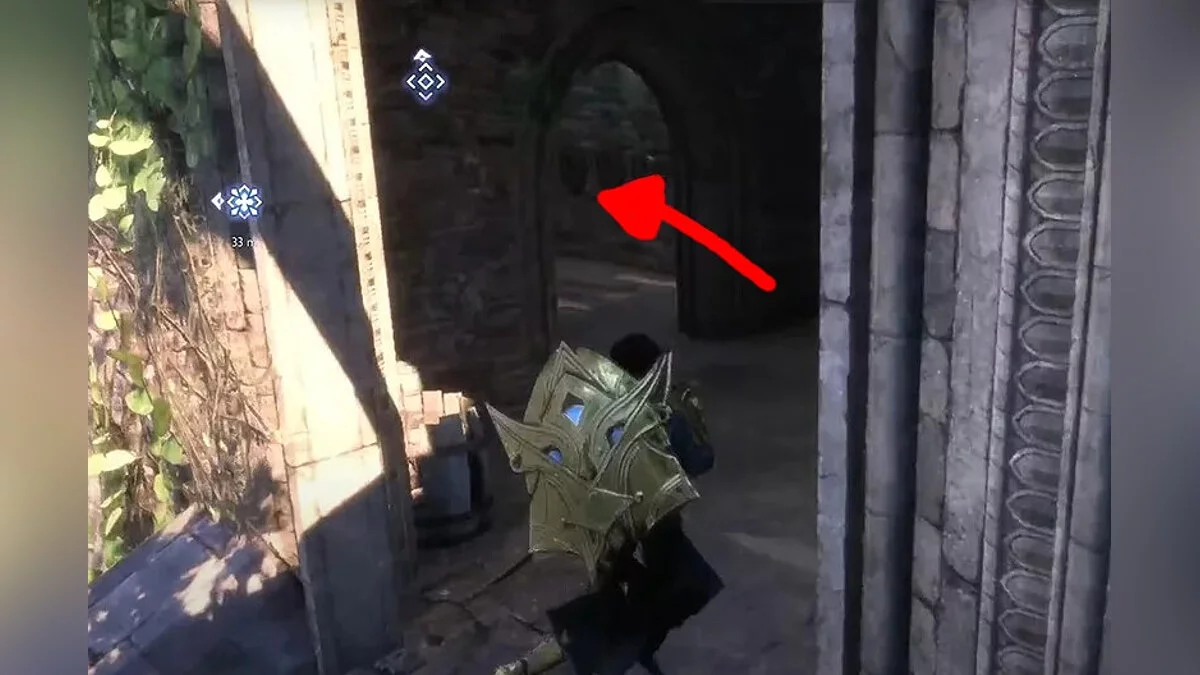
Si no abres las grandes puertas de hierro, tendrás que dar un rodeo. Después de aparecer en el punto de viaje rápido, sigue el camino a la derecha a través del arco. Continúa siguiendo el camino y sube las escaleras. Sube a la plataforma de madera y entra en la habitación al final del camino.
En la primera habitación, tira de la palanca y desciende a la siguiente. Te encontrarás en un gran salón con columnas y una estatua al final. Si miras a la derecha mientras miras hacia la estatua, verás un camino que desciende. Sigue el camino, rompe los cristales de piedra dragón en llamas usando la habilidad de Taash, y la habitación delante de ti iniciará la misión Abrir la Bóveda del Guardián.
Acertijo de la Bóveda del Guardián 1 — Enciende las llamas en el orden correcto
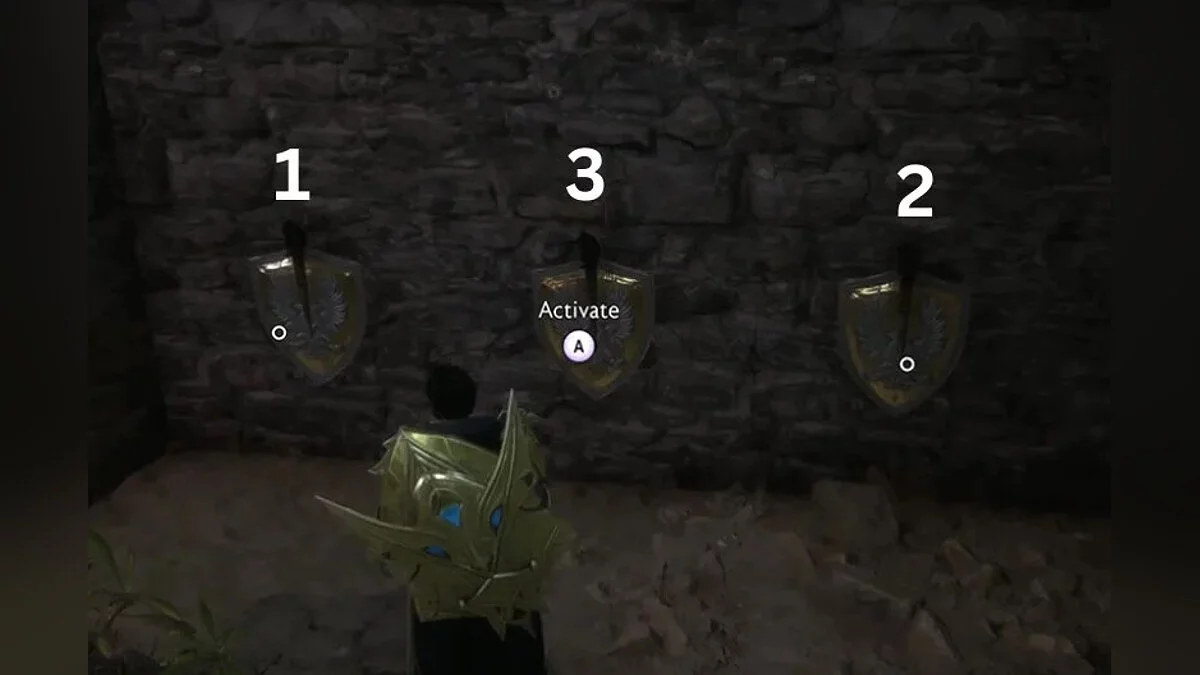
Una vez que la misión esté activa, regresa al lugar donde tiraste de la palanca. Hay una habitación cerrada con tres llamas apagadas y una puerta cerrada con un cofre del tesoro dentro.
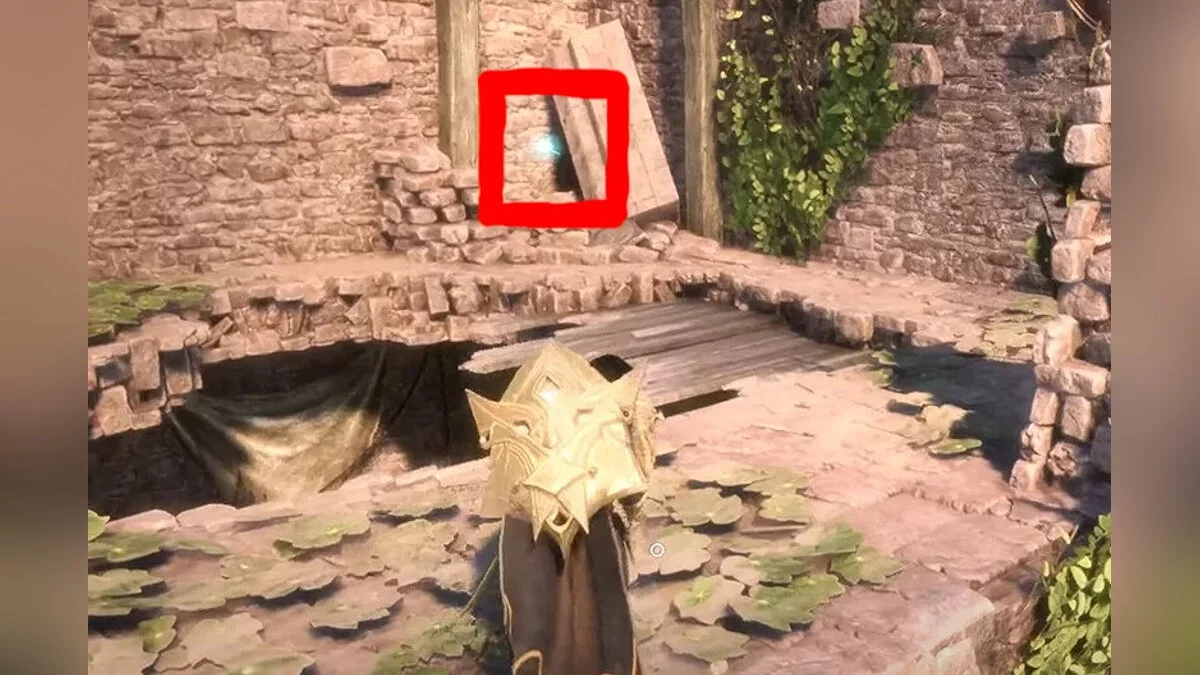
Encontrar el primer acertijo es bastante simple. Hay varias maneras de llegar allí. Sigue el camino mencionado anteriormente, sal de la habitación y salta hacia abajo. Mira hacia adelante, y verás un carro en el arco y cajas de madera dentro de la habitación. Rompe todo, y esto abrirá el acertijo de fuego.
Para resolver el acertijo, necesitas encender las llamas en el orden correcto. Aquí está cómo hacerlo.
- Flama a la izquierda;
- Flama a la derecha;
- Flama en el centro.
Regresa a la habitación cerrada, y notarás que la palanca frente a la habitación está brillando. Tira de la palanca para abrir la habitación y recoger el botín. Dentro de la habitación, puedes tirar de otra palanca en la estatua del águila para desbloquear el primer candado del Bóveda del Guardián.
Puzzle de la Bóveda del Guardián 2 — Encuentra los Esqueletos
La segunda parte del rompecabezas requiere que encuentres tres esqueletos.
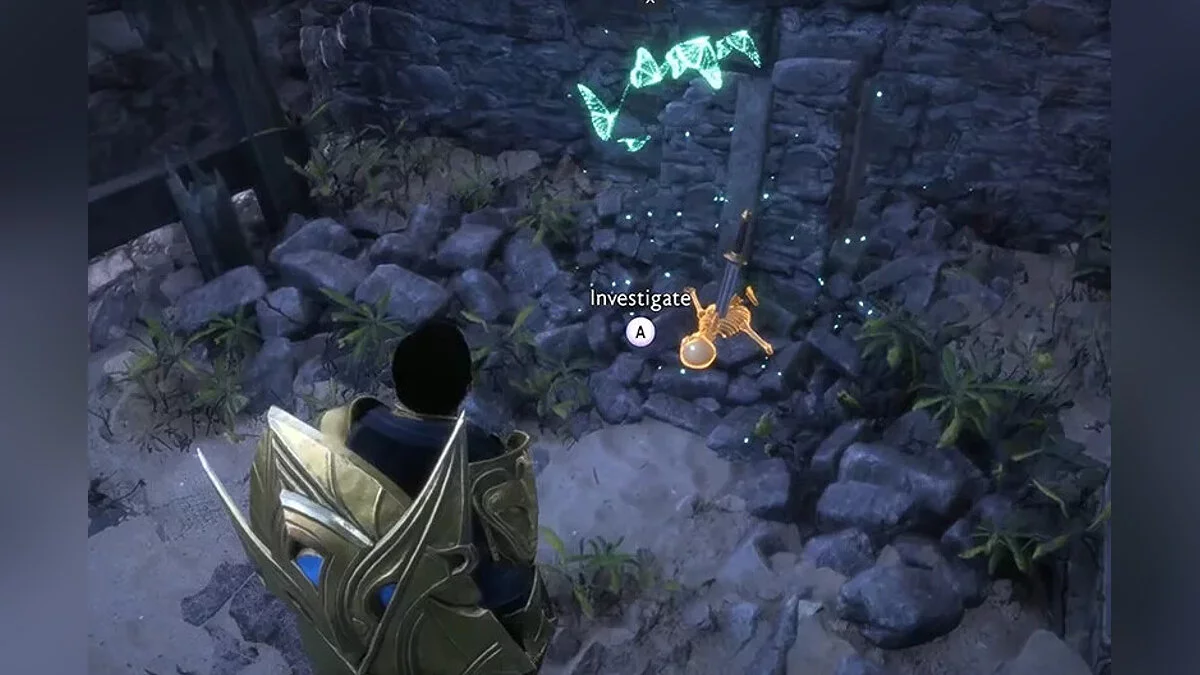
Comienza tomando la primera habitación como tu punto de partida y salta a la gran habitación con la estatua al final. Ve a la estatua y luego a la habitación a la derecha. Al final del camino, hay un esqueleto con una espada clavada en él. Interactúa con el esqueleto.
Regresa y sube las escaleras hacia la parte frontal de la habitación cerrada 1. Sal del pasillo, ve a la izquierda, y verás el segundo esqueleto en las escaleras a la derecha.
Baja las escaleras y sigue el camino a través del arco, retrocediendo tus pasos hasta el punto de viaje rápido. Encontrarás el esqueleto justo al lado del primer arco desde el punto de viaje rápido.
Regresa a donde encontraste el primer esqueleto. Antes de entrar en la habitación, verás un fantasma junto a la estatua. Acércate, y una puerta aparecerá. Dentro de la habitación, tira de la palanca para desbloquear el segundo candado.
Puzzle de la Bóveda del Guardián 3 — Encuentra y Entrega el Destello
El tercer y último candado requerirá mucho correr para encontrar y entregar el destello.
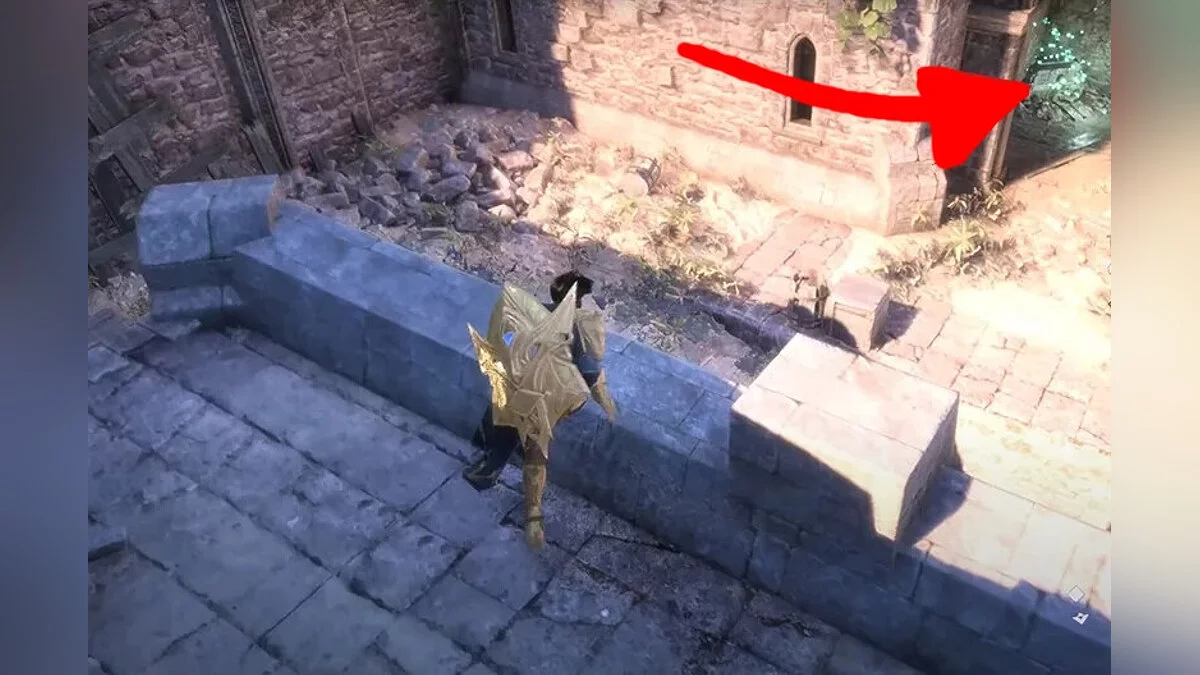
Comienza regresando a donde encontraste el primer esqueleto. Desde esta habitación, el camino lleva a un claro con dos estatuas gigantes. Una vez que salgas del castillo, verás el marcador de objetivo a la derecha, donde hay un agujero en el edificio. Necesitas volar el barril para abrir un nuevo camino.
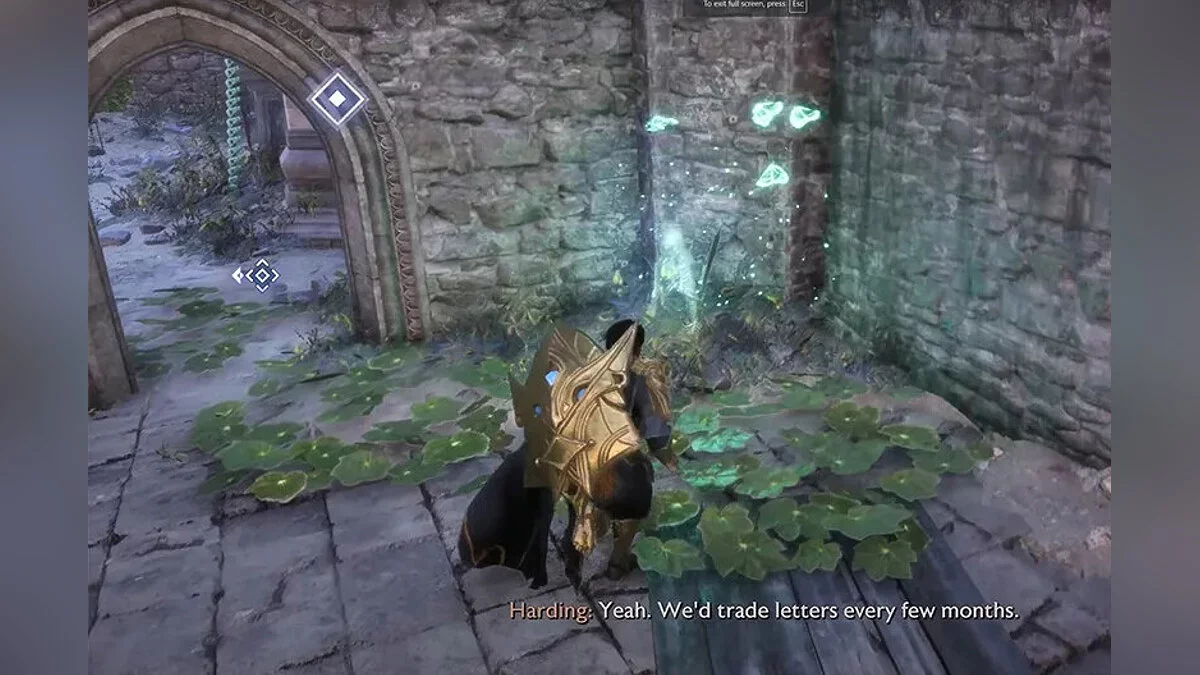
Desde allí, regresa al castillo y gira a la izquierda. Al final del camino, verás cristales de piedra dragón ardiendo. Derrite el cristal y sigue el camino. El juego te dirá que se requiere un destello.
Regresa al claro donde abriste el nuevo camino. Sube las escaleras, y en la cima, encontrarás el destello. Acércate a él, y el destello comenzará a seguirte. Regresa a donde se necesita el destello.
En la ubicación, el destello poseerá el esqueleto tendido y tirará de la palanca, lo que abrirá la puerta a la izquierda. Entra por la puerta, y encontrarás un cofre del tesoro. Saquea todo y tira de otra palanca en la habitación para desbloquear el tercer candado de la Bóveda del Guardián.
Recompensas de la Misión
La Bóveda del Guardián es donde comenzaste la misión. Regresa allí, y la bóveda se desbloqueará. Dentro, hay tres cofres con los siguientes objetos.
- 500 XP;
- Beso de Serpiente;
- Arco Azur para Rook;
- Armadura de Finery Atada para Taash.
Otras guías
- Cómo salvar a todos en la misión final en Dragon Age: The Veilguard
- Cómo conseguir todos los finales en Dragon Age: The Veilguard
- Dragon Age: El Guardián del Velo La Mejor Construcción de Mago
- Guía de romances con compañeros en Dragon Age: The Veilguard
- Mapa Interactivo de Dragon Age: The Veilguard — Todas las Ubicaciones en el Juego
- Guía de Dragon Age: The Veilguard — Cómo encontrar todos los objetos únicos
- Cómo encontrar todos los compañeros en Dragon Age: The Veilguard
- Dragon Age: El Guardián del Velo — Cómo Encontrar Todos los Altares de Evanuris
- Cómo Encantar Equipos y Habilidades en Dragon Age: The Veilguard
- Todos los acertijos y enigmas en Dragon Age: The Veilguard
- 15 años de Dragon Age: Origins. Recordando el mejor juego de la serie
- Mapa Interactivo de Dragon Age: The Veilguard — Todas las Ubicaciones en el Juego
- Todos los acertijos y enigmas en Dragon Age: The Veilguard
-
Guía de romances con compañeros en Dragon Age: The Veilguard
-
Mapa Interactivo de Dragon Age: The Veilguard — Todas las Ubicaciones en el Juego
-
Cómo encontrar todos los compañeros en Dragon Age: The Veilguard
-
Cómo salvar a todos en la misión final en Dragon Age: The Veilguard
-
Cómo conseguir todos los finales en Dragon Age: The Veilguard
-
Todos los acertijos y enigmas en Dragon Age: The Veilguard
-
Cómo Encantar Equipos y Habilidades en Dragon Age: The Veilguard
